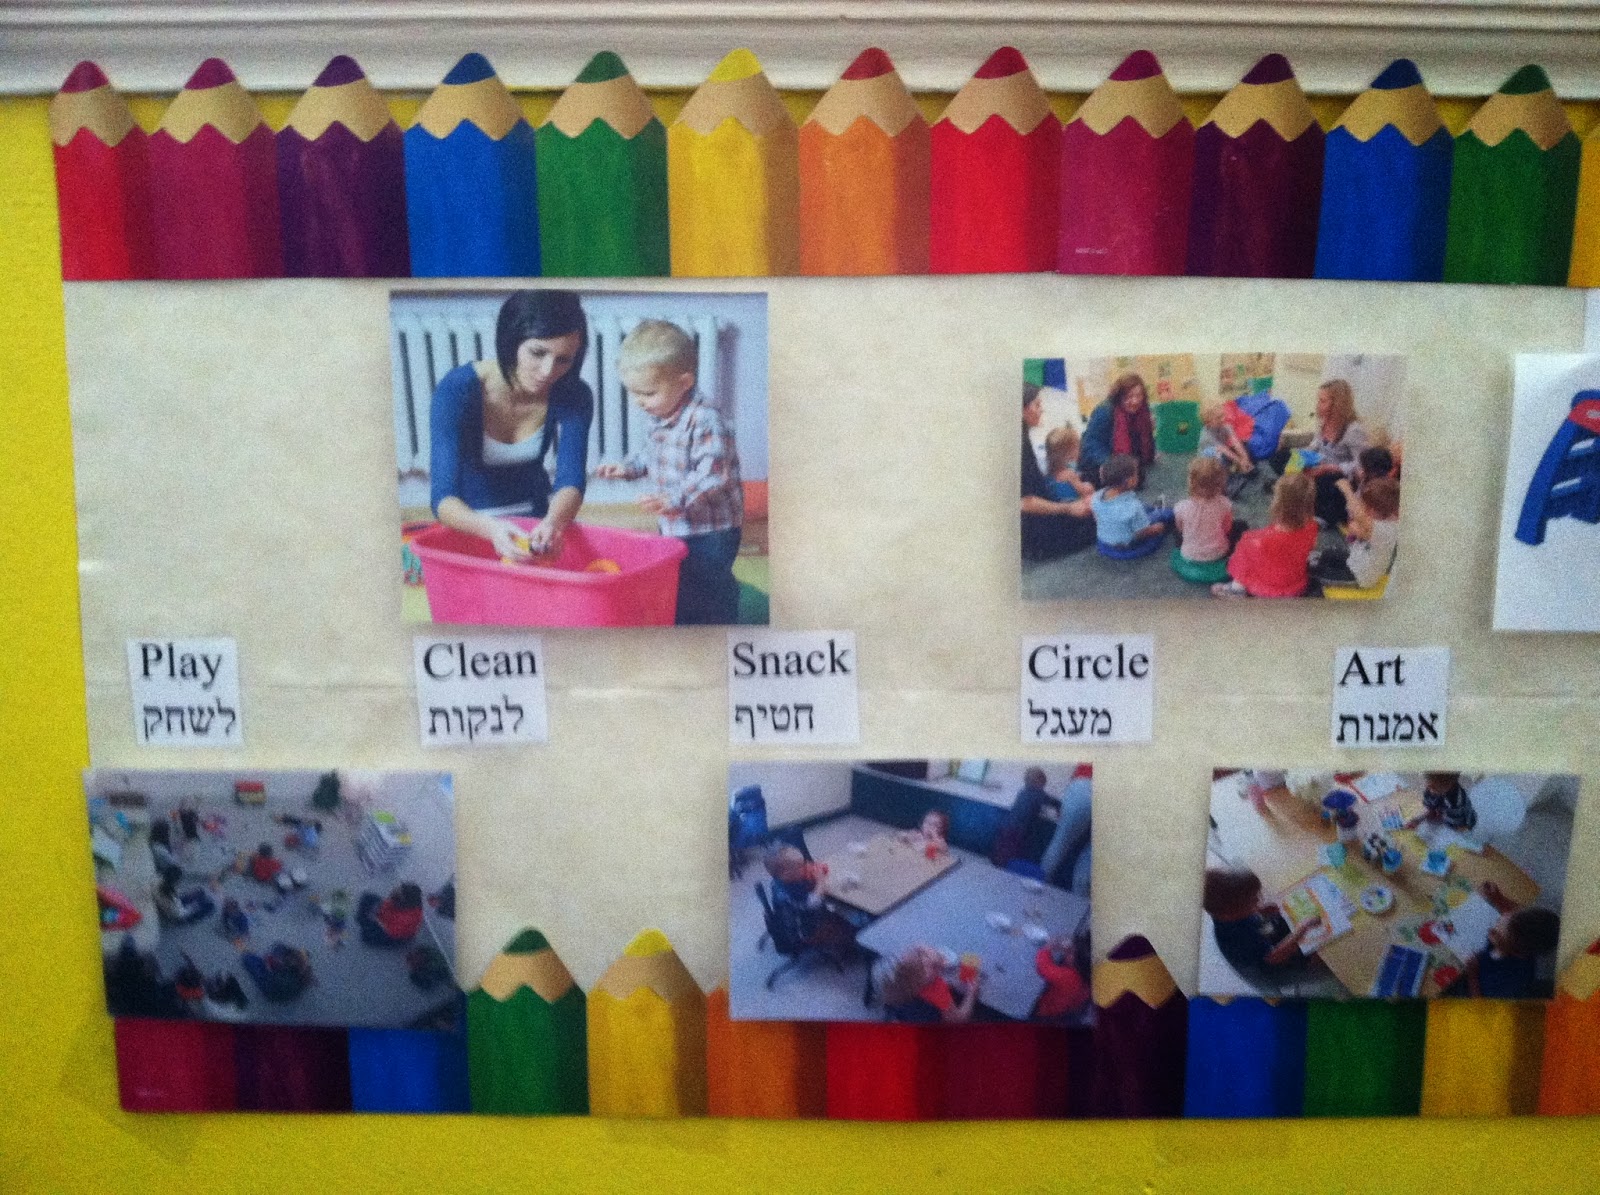
The teachers in the Young Toddler classroom have recently introduced a laminated horizontal schedule using pictures and magnets. This is a visual strategy. The schedule is discussed each and every day at the beginning of Circle Time.
Why Use Visual Strategies
1. Visual strategies can be used to prevent challenging
behavior.
2. Visual strategies are helpful in supporting and
increasing both receptive and expressive communication.
3. Just as adults use calendars, grocery lists, and “to do”
lists to enhance memory, children also benefit from visual reminders.
4. Visuals are static, meaning that they remain present
after words are spoken.
Children can refer to them once the spoken words are no
longer present.
Visuals serve as a reminder of the verbal direction.
5. Visuals assist children in knowing exactly what is
expected of them (e.g., washing hands independently, cleaning up toys, etc.).
6. Regular routines, when represented visually, can be
taught to children at a very young age.
Once taught, the adult can fade out of the routine and allow
the child to self-monitor the routine to completion.
7. For many children, visual supports are most beneficial
when used in conjunction with spoken language and/or sign language.
8. Visuals can act as a cue to teach appropriate behavior or
new skills for children who are having challenging behavior.
How to Make a Visual Schedule
1. Gather Materials:
Scissors, glue stick, poster board, clear contact paper, Velcro, pictures
(photographs, pictures from magazines, computer
programs, cereal boxes, household supplies, restaurant napkins,
placemats, wrappers, etc.) TIP: Every picture should have a label so the child
can associate the written text with the picture.
2. Choose pictures
for the schedule you wish to create. Keep in mind that a visual schedule is
used to assist children with transitions and anticipating activities throughout
the day. It can be as specific or as general as the children may need, and can
be for various amounts of time. For example, a visual schedule may outline
parts of a day, half-day, or an entire day.
3. Cut your pictures
and poster board squares the same size. Keep in mind your child’s developmental
level (see “Picture Tips” to determine your child’s visual picture stage).
4. Glue the pictures
on poster board squares for durability.
5. Laminate or cover
the pictures with clear contact paper.
6. Velcro a small
piece of Velcro on the back center of each picture. TIP: Always use the same
type of Velcro for pictures and the opposite kind for the schedule board. (We
choose to use magnets instead of Velcro. We’ve noticed Young Toddlers have an
easier time attaching/detaching magnets compared to Velcro.)
7. Create a strip to
hold the schedule. Cut out poster board long enough to hold all the pictures
for the block of time you are creating a schedule.
You may create a pocket at the bottom/end that represents
“finished” or “all done.” TIP: If your child visually tracks up and down, you
will want the schedule to be vertical. If your child visually tracks from side
to side, you will want to make a horizontal schedule (horizontal schedules promote
reading skills). Laminate the strip, and place a long piece of Velcro down the
center.
8. Velcro the pictures to the schedule in the order they
will occur. Teach the child how to use the schedule by explaining and modeling
how to use the pictures. Remember to always include changes in the schedule and
to review them with the child. When setting up the schedule, you can either
turn the pictures over as you move through the schedule to indicate that the
activity is finished, or you can remove the picture entirely from the schedule,
and place it in a pocket with the word “finished” on it. If you are going to
turn over the picture as you complete each schedule item, make sure to put
Velcro on the front without covering the picture/text. This will enable the
picture to adhere to the Velcro strip, and then once the day is complete, you
can easily set up the schedule for the next day by turning all the cards back
over to show the pictures.
9. Use the schedule!
Keep the schedule located in a convenient place at the child’s eye level, to
promote consistent use. Use the schedule as part of your routine.
10. Celebrate! Be sure to celebrate your success and the
child’s success.
Acknowledge the child for following the schedule
appropriately! Good luck!